
Thank you for downloading the Demo Task! Whether the Task has been provided by support, retrieved from a backup, or acquired through other external means, it is just a few clicks away from being imported and activated. After importing, the Task will be set in a disabled state, ensuring you maintain full control over its activation.
How to?
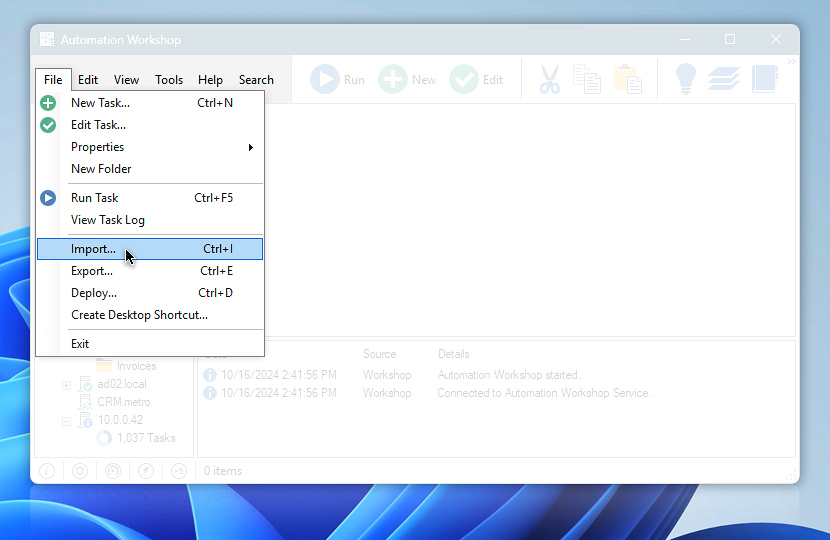
From the Automation Workshop main window choose the Import… option from the File menu. You can also access the Context menu from the Task Pane.
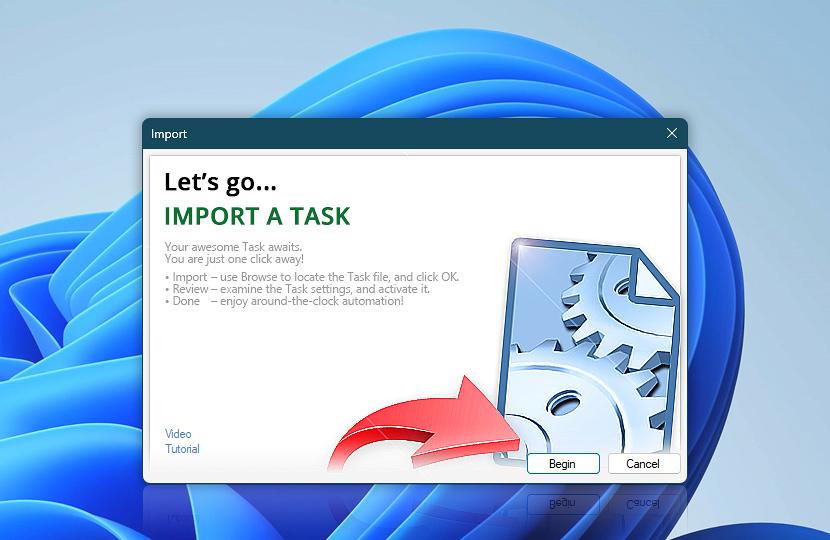
This will open Import Task Wizard. Now, you are just one click away! Click Begin…
Navigate to the folder, where you have extracted the Demo Task file. Select it, and click Open…
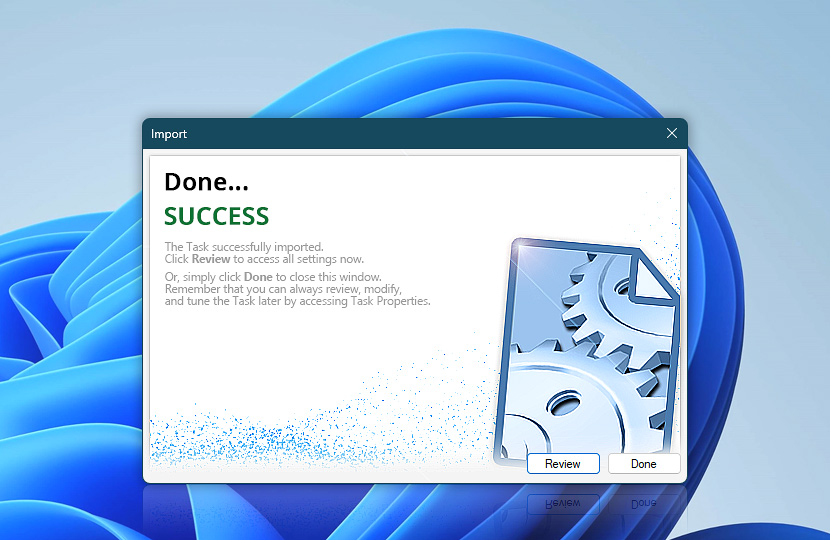
The Task has been successfully imported! You can click Review to access all settings now. Or, simply click Done to close this window. Remember that you can always review, modify, and tune the Task later by accessing Task Properties.
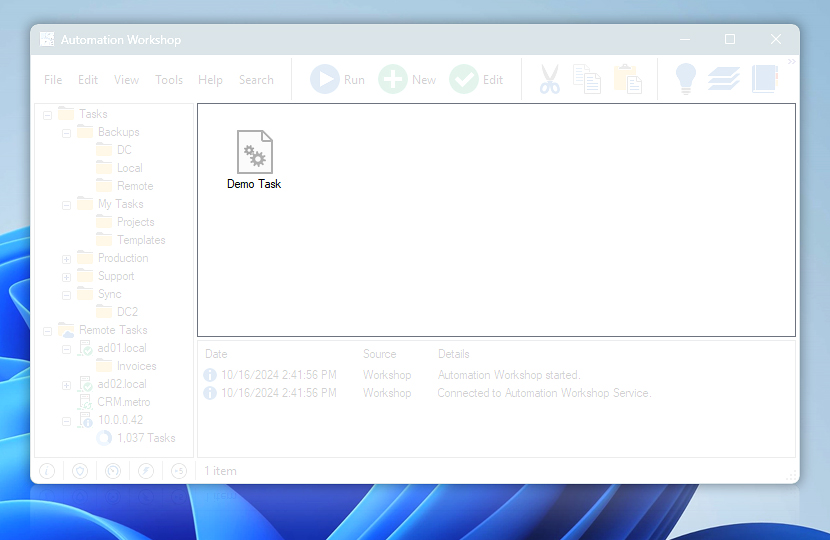
Notice the new Task in Task Pane. Tasks are imported in a disabled state, to prevent accidental automatic Task execution · Task's state explained
Final touch…
Now it is a good time to review the Task—open Task Properties, review & adjust necessary Triggers and Actions. Finally, to allow automatic execution, simply enable the Task.
Notes
During the Task import process, a new copy of the Task is created inside Automation Workshop. The Task file in the source location can be safely deleted.
Alternatively, it is possible to automatically import a Task using API. This is particularly useful when your external app or script is directly modifying or adjusting the Task XML file.
To deploy a Task to multiple servers simultaneously, the Task Push feature comes in handy. There are various Remote Operations available to import, run, enable, disable, or delete Tasks on remote servers that may be located on your LAN or other data centers.
Unleash productivity…
Automation videos · explore our extensive collection of video tutorials dedicated to guiding you through the creation of your own automation workflows. See a quick sneak-peek of our video library, offering you a glimpse into the extensive range of automation topics covered…
Quick tutorials
- Monitor an FTP or SFTP for new and changed files
- Synchronize files between local folder and remote SFTP server
- Sync an Amazon AWS S3 bucket between two accounts
- Monitor a folder and automatically send an email with report files
- Send an email with a PDF file and move it to another folder
- Send an email with an automatically detected IP address
Still have a question?
If you have any questions, please do not hesitate to contact our support team.